I will teach you how to make a beautiful photo using lasso tool and layers like this

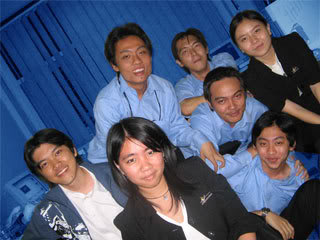
Let’s get started. First we have a picture with some of my friends in this photo.

Duplicate the background layer, so we don’t lose the original image. To duplicate the layer, you could show the layer window by pressing F7. Then click on the layer that you want to duplicate, drag it onto the paper icon below the small window.

If you do it right, there will be a new layer named background copy

After that, click on the eye image beside the background layer to set the visible to off, we don’t need to see this layer anymore.

There will be no change in the preview image, because what we see is the top layer which is [Background Copy] layer.
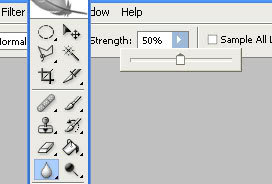
After that, we need to select the object using the lasso tool. I like to use polygonal lasso tool, it easier to clicking on the edge, slowly and accurately. This one is the polygonal lasso tool

Keep clicking on each edge patiently, well this will need some minutes to do. If you have wrong clicking, simply press the [delete] button to undo the selected dots.
I give you an example. The red circle points to my cursor. See that I click it on each edge.

After you finished, right clicking on the selected area, and choose select inverse

After that, it will look like this

Then press [delete button] to delete the object background. It will be shown like this one

Still with me? good, now copy the original background layer again and place it on the second place. Because the first layer we have empty spaces (the gray squares) , so we will see the second layer filled the empty space. Make it look like this

After that, deselect the selected area by right clicking on the image, and choose deselect

Now, click on the second layer

Then let’s make it grayscale by clicking on the menu item, image -> adjustment -> desaturate.

And it will show like this

Let’s give it some color touch. Click on the menubar again and choose image -> adjustment -> color balance

Then give it the color you want, I will make the background color to dark blue so it will match with their uniform. Useyour creativity to make a matching colors.

It looks pretty good now isn’t it?

Wait, did you realize something doesn’t look right here?

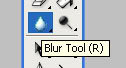
The crop before doesn’t look merged with the layer below. So, choose the first layer again on the layer window and then click on the blur tool

Set the blur strength value to 50%
Now move your pointer alongside the object so it will look more merged with the background image. The result looks better now
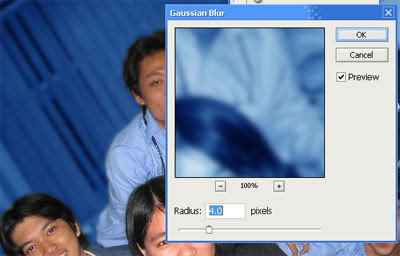
Another trick is to blur all the background image to make it look focused to the object. To do this, choose the background layer, then click on the menu and choose Filter -> Blur -> Gaussian Blur
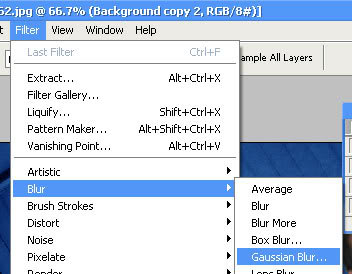
Enter the value to 4.0, enter more if you want
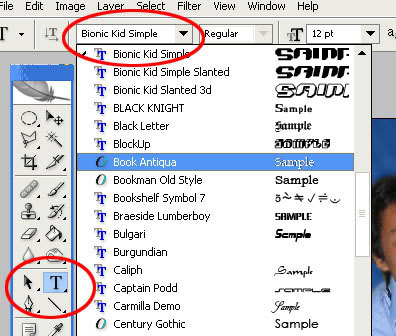
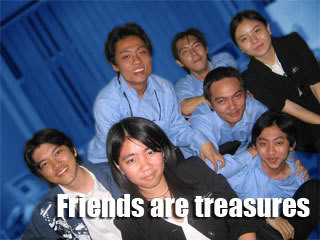
Already satisfied? Now, let’s give some text on the picture. Click on the Type Tool on the toolbox to add text. Then below the menubar, choose your desired font. I like to use Impact as the headline.
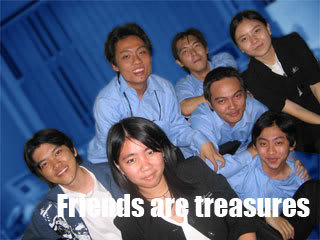
Then, write some text on your picture, arrange the layer to make more variations. I will give you an example. I will write a text with white color. To change the text-size, simply press Ctrl+t to resize it. Don’t forget to put your text layer in the upper position.
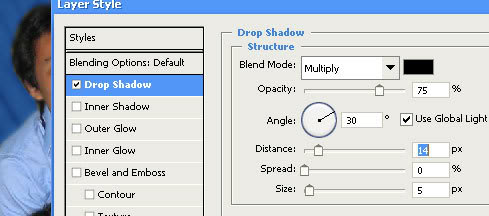
Looks like it’s hard to read the text, let’s give it shadows so it will be more readable. Right click on the text layer then choose blending option
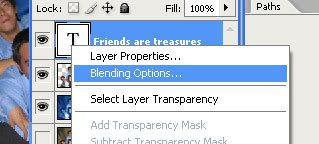
After that, check on the shadow, then click the shadow menu and configurate it as you want.
The result are better now
Now I will show you how to make the transparent text. Click on the layer text and adjust the opacity. Voila, That’s all. Use your creativity to make a beautiful edited photos.
You can download the 800 x 600 resolution picture, click here.


